Friday, April 24, 2015

Tropical transformation - metal patio furniture

Many years ago, I purchased a patio set.  My boy was very young at the time, so I wanted something sturdy, heavy and not easily tipped.  Toddlers have a tendency to topple furniture.  I wanted to prevent my little one from taking a nose dive on the concrete floor of the lanai.  Simple mommy logic - keep the young ones out of the emergency room, if at all possible.  Long story short, I ended up with a somewhat heavy metal patio set.  In black - my least favorite color for outdoor furniture in Florida.  

My boy is now a teenager.  The black paint has long since peeled away and I have been looking at one ugly patio set for quite some time.  Black may be my least favorite color, but rust is even worse.  Yuck!  It was time to either throw the set away, send it to the scrap yard or find a way to fix the mess.  I chose the latter; I have a strong dislike of disposing of usable items.

This particular revamp was quite time-consuming.  The black paint had not completely peeled away and the rust had made quite the mess. There were many hours spent sanding, scraping and pressure washing. This was followed by priming, spray painting, light sanding and painting again. Although I love the tropical colors, I was very tired of smelling the paint. I spent the better part of a week in my back yard, applying paint.  Bright sunshine and paint fumes can give a girl a whopper of a headache! 

Only time will tell how long this paint job will last.  I have seen what rain, direct sunshine and teething puppies can do to metal patio furniture.  It's not good.  Hopefully, all of the prep work will pay off in the long run.  If not, well, I'll just cross that bridge later.

Plastic spoon flower


I LOVE flowers! Sadly, I am not very good at growing them.  And those pretty little bouquets from the florist are quickly eaten by my cats.  The little stinkers!  

No worries, I will just make my own cat-proof flowers.  A few plastic spoons, hot glue and spray paint can do wonders.  This was a fun little project that required very little time to complete.  I simply snapped the spoons at the spot where the handle meets the bowl.  Next, I used my handy-dandy hot glue gun and affixed the spoon bowls to an unused plastic lid, making sure I left enough room for the bottle cap lid.  I then spray painted the spoon leaves and lid and left them to dry.  The final step was to glue the lid in the center on the front, and a soda can pop-top on the back.  The pop-top is used as a hanger.  Easy peasy!  

This little flower makes me smile every time I walk by.  So much so, I think I will make more.  Who knows?! I may just cover the walls with flowers.

Tuesday, April 14, 2015

Gotta love a $2 lampshade!


Our monster-sized puppy struck again!  In her haste to "play" with one of our cats, the clumsy girl slid into a floor lamp ... again.  And broke, or rather cracked, the lampshade one more time.  Sigh.

Time for some creative problem-solving.  I can remove the lamps, buy new lampshades, get rid of the dog or purchase lamps which could be hung from the ceiling.  Quite frankly, I did not like any of those options. Our clumsy puppy may make messes, destroy household items and dig in the yard, but I love her to pieces.  She stays.

Further brainstorming, followed by a trip to Dollar Tree highlighted one more option.  I could make my own inexpensive lampshade. When I say inexpensive, I really mean cheap. As in less than $5.00 type of cheap. Odds are good, our little darling will crash into the floor lamp again.  Even better odds are that I will be making this shade a few more times.

So ... this is what I came up with.  Two plastic salad bowls and a hole saw drill bit.

I checked the diameter of the metal piece that connects the shade to the pole.  Next, I inserted an appropriately sized hole saw bit into my handy dandy cordless drill and got to work.  I placed each bowl on a piece of scrap lumber and gently began the drill.  It didn't take long for me to realize the colored bowl was a little thin as I drilled through.  Thankfully, the UPC sticker on the base of the bowl prevented any cracks while I was drilling.

Once I drilled through each bowl, I stacked them together and inserted the metal ring.  All that remained was to put the shade on the base pole and add a fluorescent light bulb.  We had used an incandescent bulb within the previous (plastic) shade, but I am hesitant to do the same with this one.  Melting plastic is not one of my favorite smells.

As you can see, I tried to photograph the lamp while it was on. However, I do not feel the picture shows how beautifully the lamp glows and sparkles.
Using the colored bowl inside the mock cut-crystal design bowl creates and lovely look.  Let me know what you think.


Friday, April 10, 2015

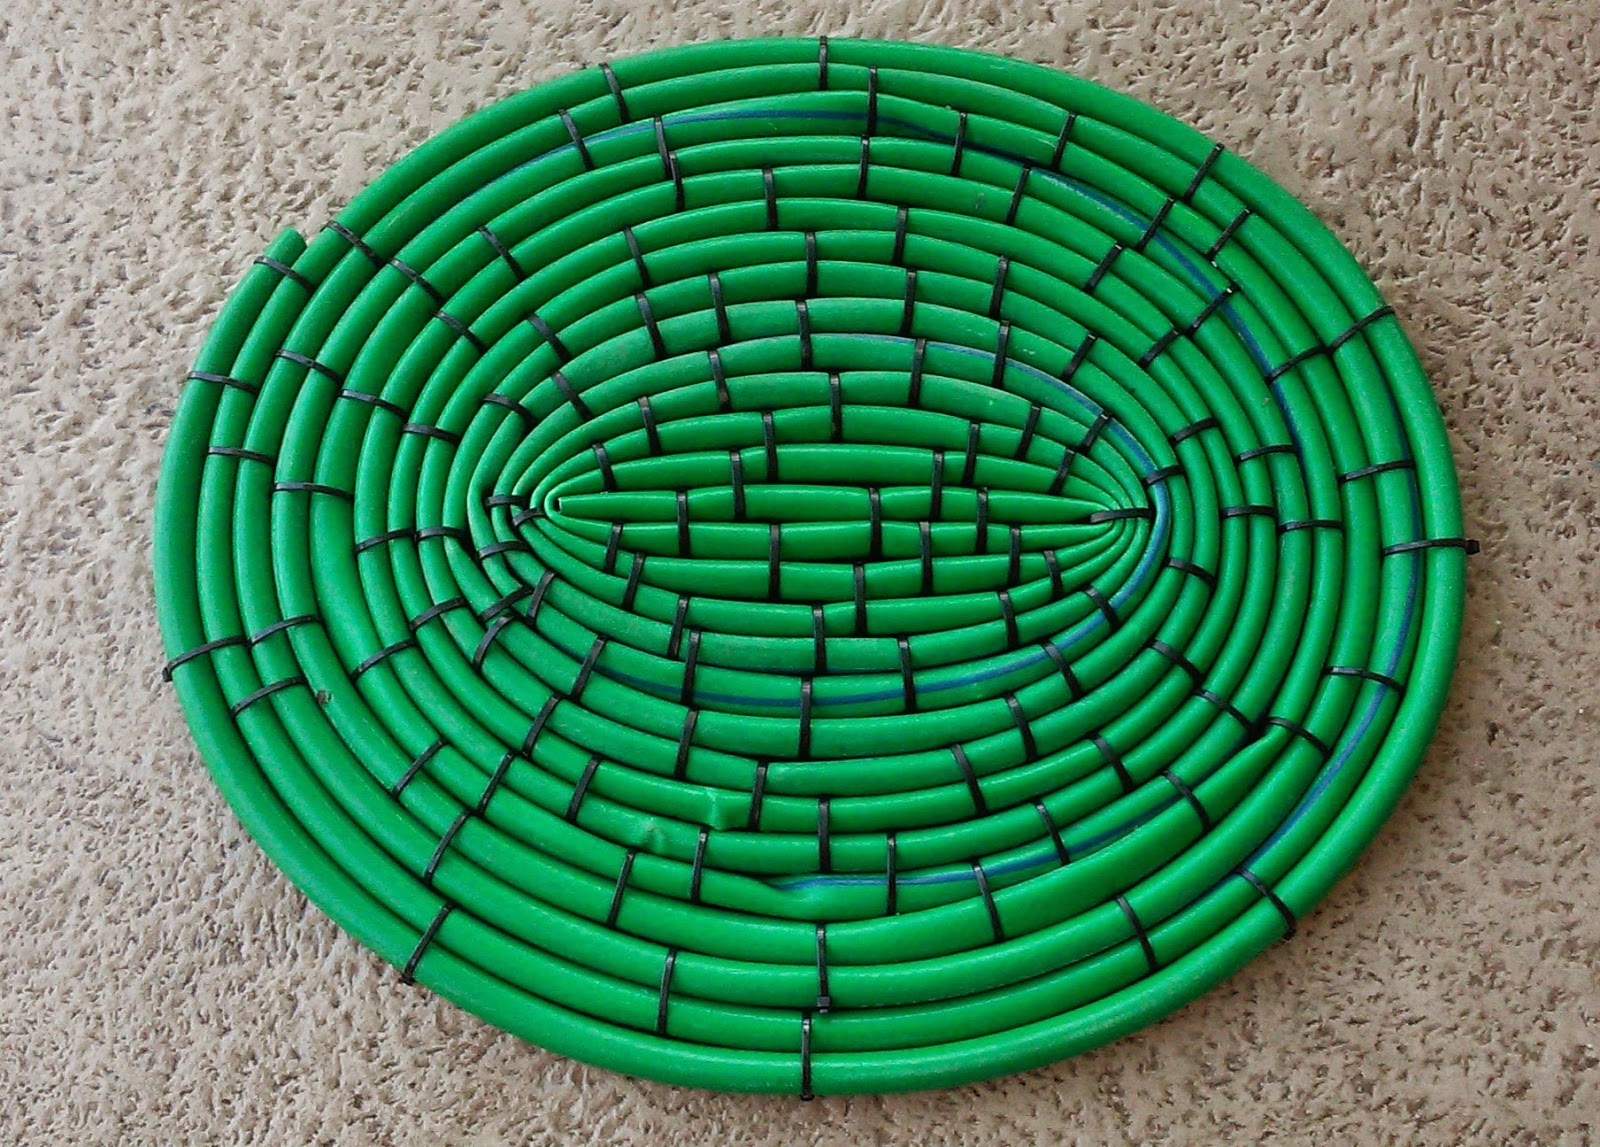
Garden hose upcycle


Spring cleaning certainly produces many creative opportunities.  Case in point, a blown garden hose.  I have been battling one of my hoses for weeks.  It has twisted and kinked so many times, it sprouted holes. Trying to use the hose for its intended purpose became impossible, but I did not want to throw it away.  However, I had no idea what to do with the thing. 

Thank goodness the Internet is available to help find solutions.  Truth be told, I felt like such a slacker once I saw all of the fabulous things people have made with old garden hoses.  However, I am in constant need of door mats and throw rugs,so I chose the path of need rather than want.

Turning the hose into an oval shaped mat was simple enough.  A little bend here, a twist there and bam, one new outdoor mat!  I admit that it took me a few minutes to realize that I did not want to pull the zip ties as tight as they would go though.  I had to cut several ties off and rework the shape once I realized how misshapen the rug became.  Lesson learned. pull the zip tie securely but not overly so.  

I am super excited to make another one of these little garden mats! There is one more old hose sitting in my backyard as I write, just waiting to be repurposed.  I believe the next mat will be made with colored zip ties.  A rainbow in the round, so to speak.

Homeschool foreign language lessons

I am SUPER excited!  My teenage homeschooled son has taken an interest in learning a foreign language.  I have spent years trying to impress upon him the importance of learning another language, with little success.

We live in Florida where both English and Spanish abound.  Naturally, I tried to persuade my boy to learn Spanish, as I consider it useful for our location.  Granted, he has tried to learn the language but with little enthusiasm or success.  And quite frankly, I have not set the best example for him when it comes to foreign languages.  Shucks, I have a hard enough time working with English.  My southern roots run too deep, making a slow drawl more my speed.  But I digress.

Lucky for me, my teen has reached an age where members of the opposite sex make an impression on him.  A BIG impression!  I consider this fortuitous because I can use this attraction to encourage a new learning direction.  Evil homeschool Mom strikes again!

Recently, my boy has taken a shine to a young lady who speaks both French and English.  Wouldn't you know, he is far more receptive to learning a new language now? Time for a stroll through Amazon; foreign language instructions, please.

Thankfully, Amazon offers daily deals.  And I happen to have unused gift card balances earned through reward apps and earning websites.  Talk about a perfect combination!  Sales plus gift card balances equal one very inexpensive foreign language course.  A whopping $25 out of pocket for me for Rosetta Stone - French - Level One.  Happy dance time!

Thursday, April 9, 2015

Walking to rewards


I just bought a FITBIT Zip Wireless Activity Tracker through Amazon. Thanks to reward apps and earning websites, I was able to order this little cutie with zero cash out of pocket.  One complete order, including an extended warranty - paid for with gift cards earned from apps like Perk and websites like Swagbucks.  I just LOVE placing orders without having to pull out a credit or debit card!

Once I receive my order, I will link this fitness tracker to my credit union and Walgreen's reward accounts.  My credit union offers a program that will deposit funds into my savings account based on the number of steps I take.  Walgreen's offers a similar program with a slight difference.  Where my credit union will make cash deposits, Walgreens offers points to use in the store.  Just think, I will earn money by walking!!  Sweet!

Swagbucks

Perk